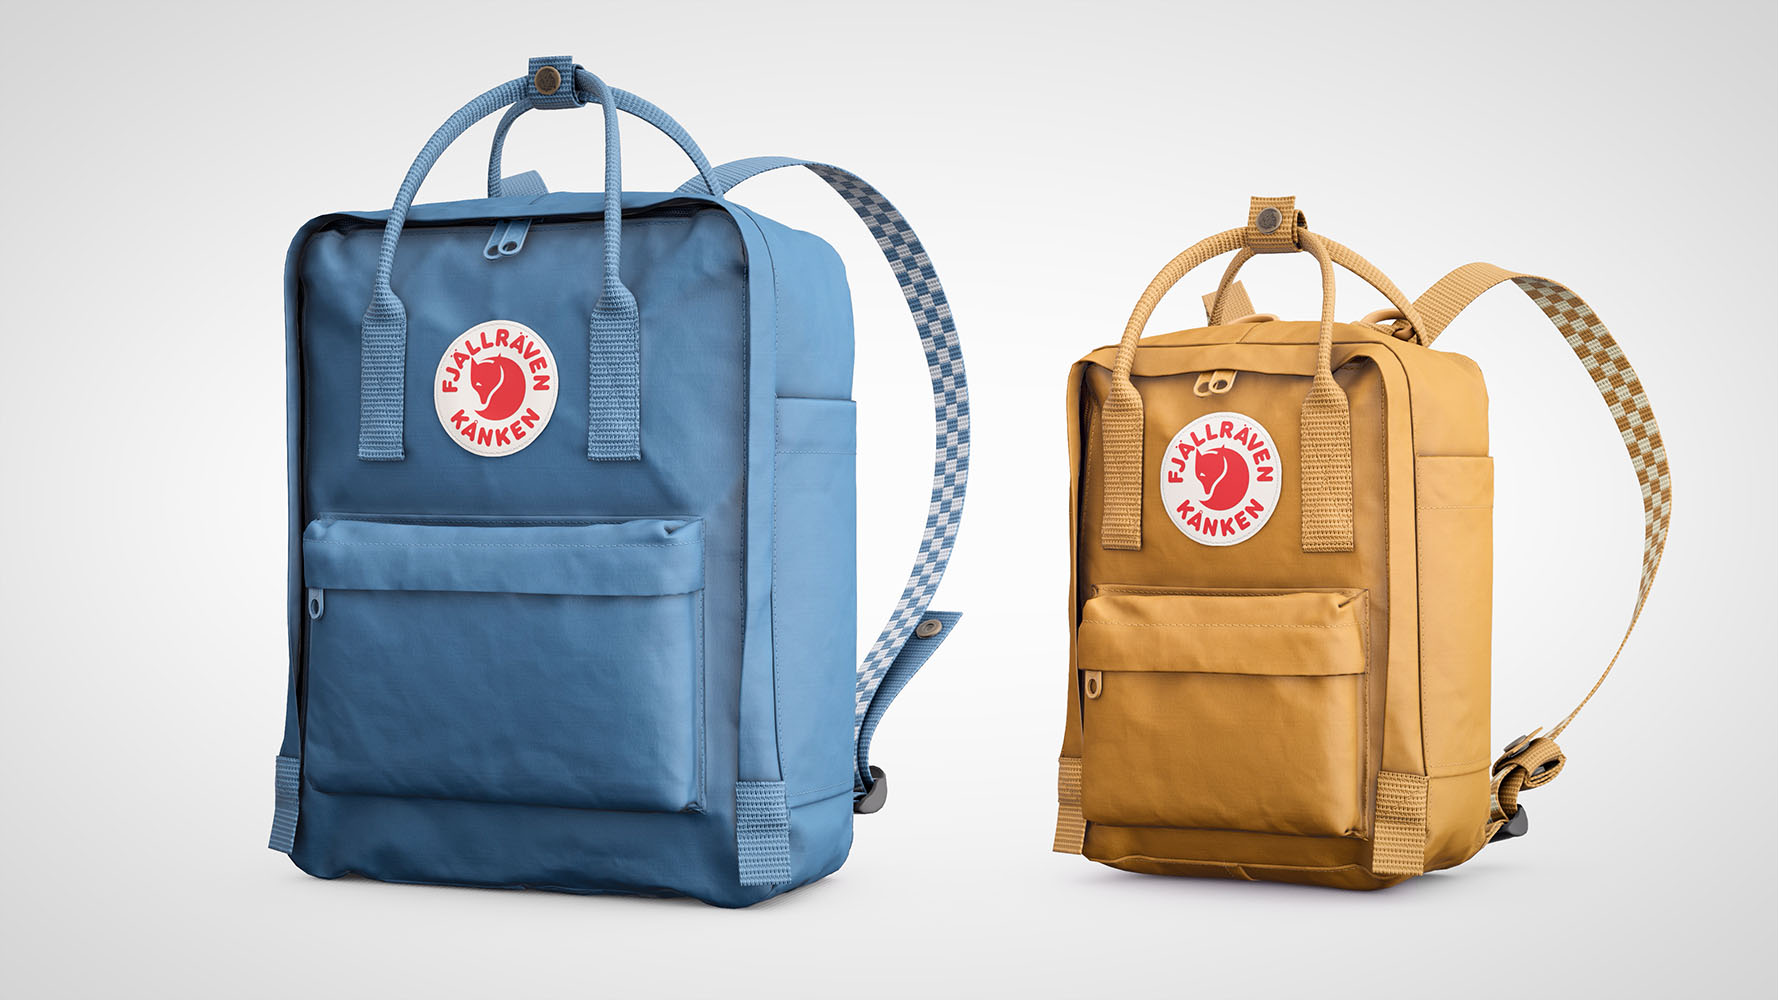
Kånken Me is a campaign by Fjällräven in which anybody can customize and order their own Kånken and Kånken Mini backpack. Each part of the backpack can be colored independently. There are currently 14 different colors to choose from and 15 different parts to customize, meaning there are billions of combinations. Fjällräven couldn’t possibly have photographed all these, so they turned to Animech to build a real-time 3D application.


Creating a virtual Kånken
Before proceeding with the project, we did some RnD on how to best recreate the Kånken in 3D. We started off by 3D scanning a real Kånken backpack, which gave us a model and a color texture (including lighting information). While the detail level of the model would have sufficed for our purposes, the mesh wasn’t usable right off the bat. We would still have needed to clean up parts that had merged into other parts, recreate hard-surface details, separate all the different parts of the backpack, retopo or create a low-poly model, and UV everything manually. Not to mention, if the customer would return with feedback on how the backpack was posed, we would have to re-scan the entire backpack. Of course we could have made it work, but we instead chose a different route.
We had recently made Veidekke ID, in which we simulated fabrics using Marvelous Designer. In Veidekke though, we had only created simple fabrics such as blankets, pillows and towels. A backpack is much more advanced, with many different seams, folds, fasteners, and fabric types. So while we had some experience with Marvelous, we also had to learn as we went along. This meant we had to go through many iterations before arriving at the final model. Needless to say, we had to find out the hard way how to and how not to work in Marvelous. Below are some screenshots of how the backpack model progressed.

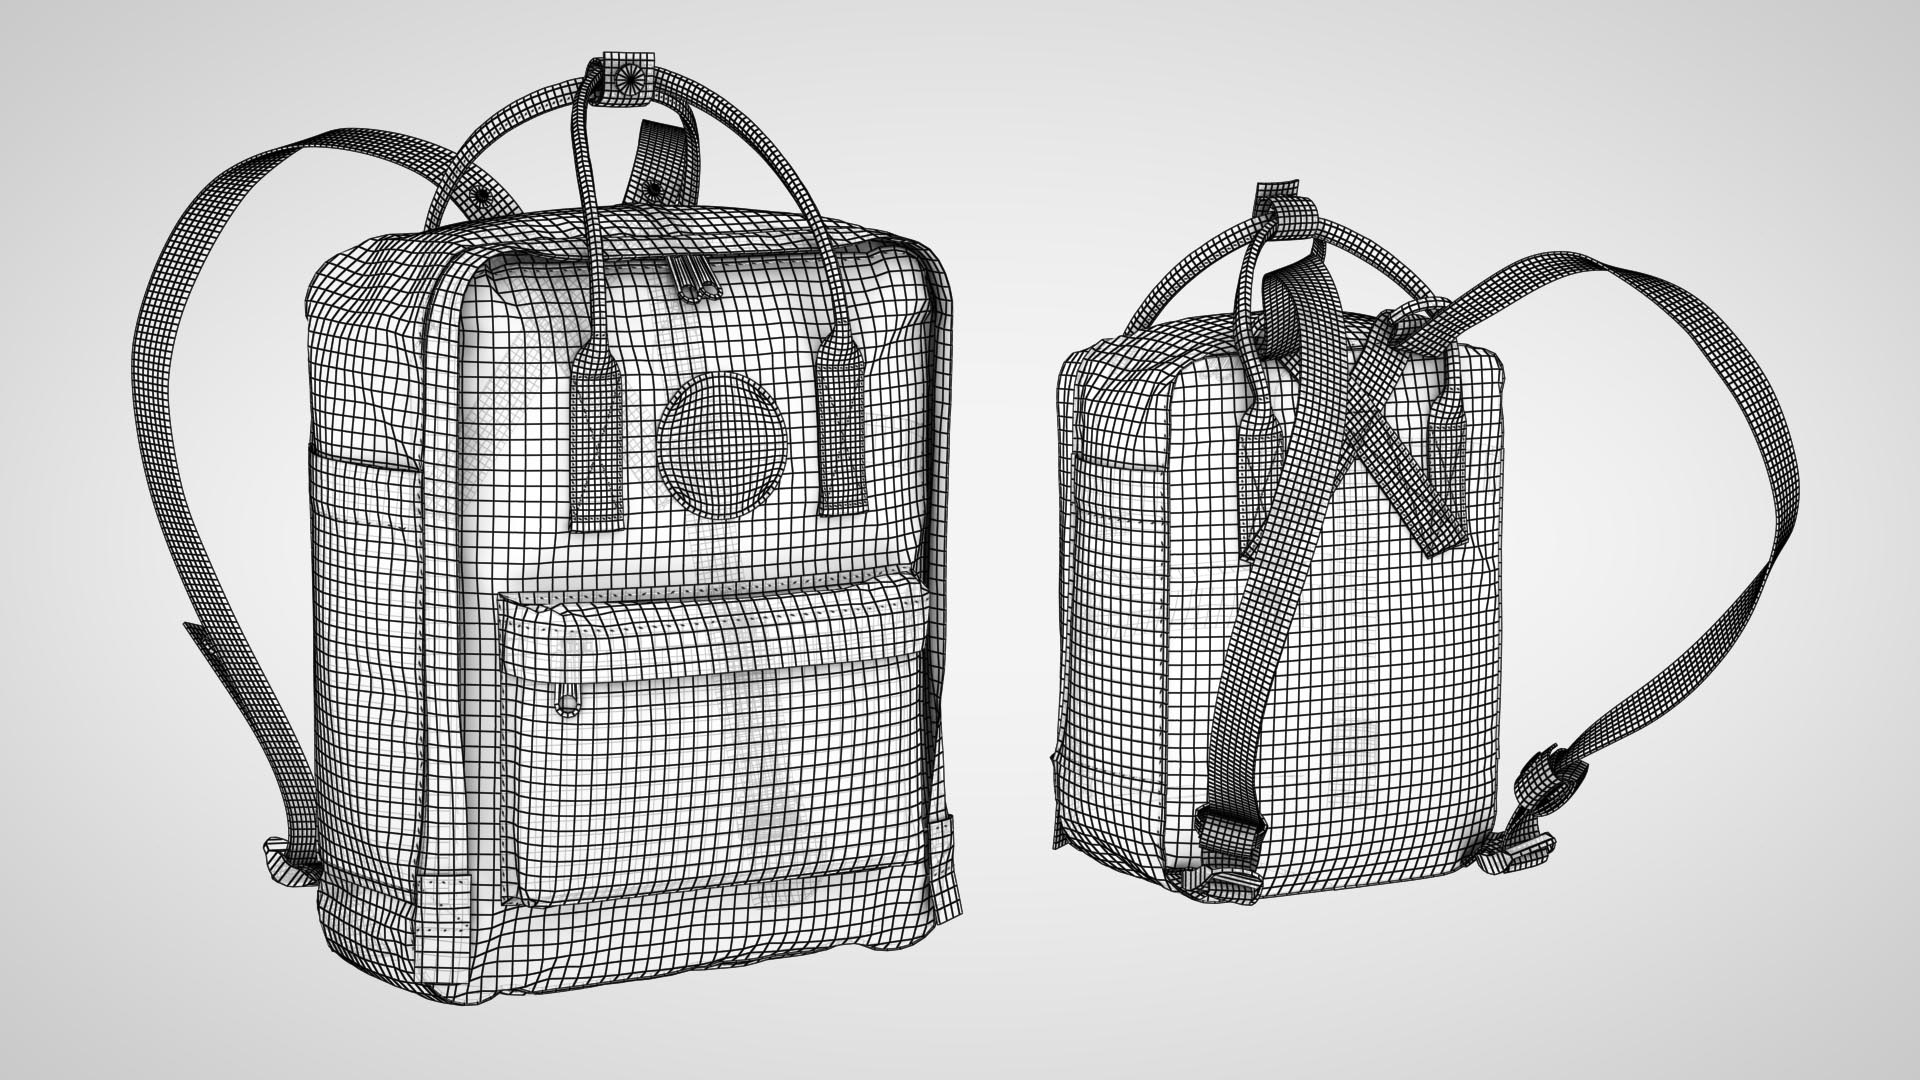
Optimizing the mesh
Marvelous Designer simulates fabric patterns using particles, which are then triangulated into a mesh. This produces detailed meshes, but their topologies are terrible. There is a built-in remesh option, but in our experience it was very slow and didn’t handle anything but horizontal or vertical lines very well. While researching workflows we came across this tutorial showing how to retopologize models using 3ds Max. In a nutshell, we needed 3 copies of each pattern:
- The simulated pattern.
- The pattern before simulation (in 2D, and the topology needs to be identical to the simulated pattern).
- The retopologized pattern, also 2D, laying on top of the non-simulated pattern. We used the remesh function as a starting point.
We imported these into 3ds Max and cleaned up the retopologized patterns further. Then we used Skin Wrap to conform the retopologized patterns to the non-simulated patterns. The non-simulated patterns were in turn morphed to the simulated patterns. This meant that the retopologized patterns would follow the morphing non-simulated patterns into the shape of the simulated patterns. The beauty of this is that we could alter the retopologized mesh however we wished, and it would always morph into the correct simulated shape. Another benefit of this approach was that UV mapping was a breeze. Since the retopologized patterns were already laying flat, we could simply planar map them. For the high poly model we subdivided the morphed, retopologized mesh and added minor details such as folds and creases. We also made a reduced version which we used as the real-time model.
Adding materials
In Substance Painter we baked normal and AO from the high poly model onto the real-time model. While in Painter, we also used procedural textures to add further wrinkles, creases and imperfections. These baked textures were then combined with tiling detail textures in-shader. This separation meant we didn’t need to add small details such as weaves, fibers, and threads to the baked texture, which would have required very high resolutions. We had to develop this shader function in-house since the WebGL engine we use, Playcanvas, didn’t support detail textures. Fortunately the engine is open source so we could make a merge request with the new feature, and it’s now available for all to use.
When creating the different color fabrics, we use a couple of base materials. One for the strap fabric, one for the bag fabric, and so on. These base materials then get tinted with a diffuse color, based on what color the user selects, and get applied to the correct part. This makes the materials very easy to maintain, since we don’t need 15 duplicates of each base material. A feature we talked about from the start was to add patterned fabrics. Because of the way we UV-mapped each part, the model supports this feature. Patterns on straps follow the orientation of the entire length, and textures on wrinkled, folded fabric get distorted correctly. Below are some examples of patterned fabrics that I made while playing around with the model.


Closing thoughts
I was responsible for all 3D work on this project. While the work in Marvelous Designer proved challenging, I now consider it another useful tool in my arsenal. We also got to develop some new features, which have proven useful in other projects as well. This project has definitely become one of my favorites, since I got to focus purely on the visual quality. I’m extremely happy with how the result turned out, and hope the application is met with lots of positive feedback. You can find the application on Fjällrävens website.